knative 学习笔记
Knative 学习笔记
安装
先决条件
- 有
kind(kubernetes in docker) - 有
kubectl
Knative CLI 安装
源码安装
- 先决条件:有
Go - 克隆仓库
1
2
3
git clone git@github.com:knative/client.git
cd client/- 构建二进制执行文件
1
hack/build.sh -f
- 先决条件:有
将二进制文件移动到路径下
1
sudo mv kn /usr/local/bin校验版本
1
kn version
Knative quickstart 插件安装
源码安装
- 克隆仓库
1
git clone git@github.com:knative-extensions/kn-plugin-quickstart.git- 构建源码
1
./hack/build.sh
移动
1
sudo mv kn-quickstart /usr/local/bin校验
1
kn quickstart --help
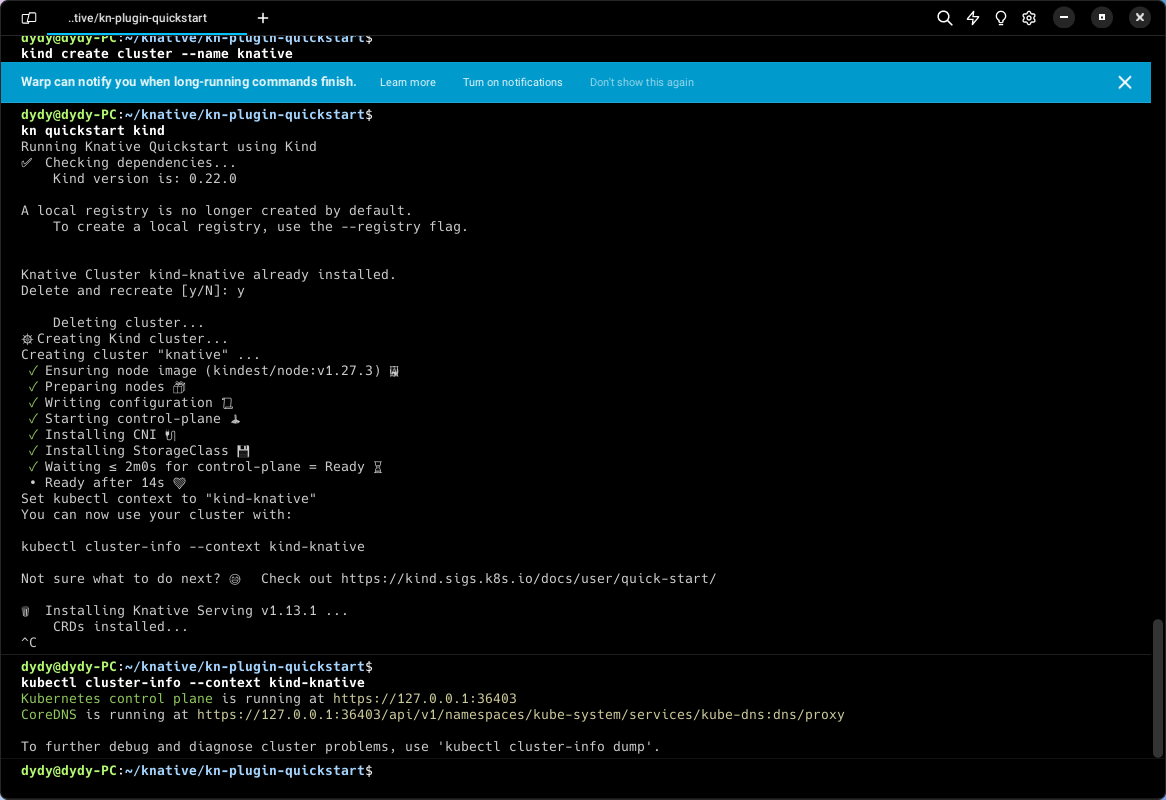
运行 Knative quickstart 插件
- 安装 k8s 实例
- 创建一个集群名字为
knative
1 | |
- 安装
Knative Serving - 安装
Knative Eventing - 本地部署
1 | |

Knative Functions
安装 func CLI
源码安装
- 克隆仓库
1
git clone git@github.com:knative/func.git- 编译
1
cd func && make
作为 Knative 的插件安装
- 移动到系统目录
1 | |
- 验证
1 | |
从K8S安装Knative
K8S搭建
- 启动集群
1 | |
Knative-serving 安装
配置
serving-crds.yaml1
2wget https://github.com/knative/serving/releases/download/knative-v1.12.4/serving-crds.yaml
kubectl apply -f serving-crds.yaml配置
serving-core.yaml1
2wget https://github.com/knative/serving/releases/download/knative-v1.12.4/serving-core.yaml
kubectl apply -f serving-core.yaml配置网络
- 使用 kourier
1
2
3
4
5
6
7
8
9
10
11
12
13
14
15
16
17
18
19
20
21
22
23
24
25
26
27
28wget [https://github.com/knative/net-kourier/releases/download/knative-v1.12.3/kourier.yaml](https://github.com/knative/net-kourier/releases/download/knative-v1.12.3/kourier.yaml)
kubectl apply -f kourier.yaml
# Configure Knative Serving to use Kourier by default by running the command:
kubectl patch configmap/config-network
--namespace knative-serving
--type merge
--patch '{"data":{"ingress-class":"kourier.ingress.networking.knative.dev"}}'
kubectl apply -f https://github.com/knative/serving/releases/download/knative-v1.12.4/serving-default-domain.yaml
# 10.0.0.233 is an arbitary choice.
EXTERNAL_IP="10.0.0.233"
# To get rid of the strange rules that default urls *.svc.cluster.local cannot be accessed from outside network.
# sslip can avoid us from trouble of manipulating DNS record.
kubectl patch configmap/config-domain \
--namespace knative-serving \
--type merge \
--patch "{\"data\":{\"$EXTERNAL_IP.sslip.io\":\"\"}}"
kubectl patch svc kourier -n kourier-system -p "{\"spec\": {\"type\": \"LoadBalancer\", \"externalIPs\": [\"$EXTERNAL_IP\"]}}"
# Fetch the External IP address or CNAME by running the command:
kubectl --namespace kourier-system get service kourier- 使用istio
1
2
3
4
5
6
7
8
9
10wget https://github.com/knative/net-istio/releases/download/knative-v1.12.3/istio.yaml
kubectl apply -l knative.dev/crd-install=true -f istio.yaml
kubectl apply -f istio.yaml
# Install the Knative Istio controller by running the command:
wget https://github.com/knative/net-istio/releases/download/knative-v1.12.3/net-istio.yaml
kubectl apply -f net-istio.yaml
# Fetch the External IP address or CNAME by running the command:
kubectl --namespace istio-system get service istio-ingressgateway
- 使用istio
- 使用 kourier
问题
无法对外暴露 IP
- 当前解决方案
1 | |
1 | |
- 解决方案2.0
1 | |
问题解决
代理问题
在国内环境下安装 knative serving 时需要通过代理,但是在 http_proxy 中设置为 http://127.0.0.1:7890 并不能够正确的将其设置为本机的代理,因为在 docker 环境下它读到的 127.0.0.1 并不知道是啥。需要设置为一个域名代理 proxy.i2ec.top:21087,通过内网 IP 或者公网 IP 设置代理
安装过程中可以通过
1 | |
判断 knative-serving 是否被正确添加
但是在部署函数完成后要想成功调用函数,又需要对生成的域名做绕过代理的处理,例如现在生成了一个
1 | |
使用 curl 工具时需要绕过代理访问
可以为 no_proxy 添加
.sslip.io作为一个小技巧
入门
Functions
创建一个函数
1 | |
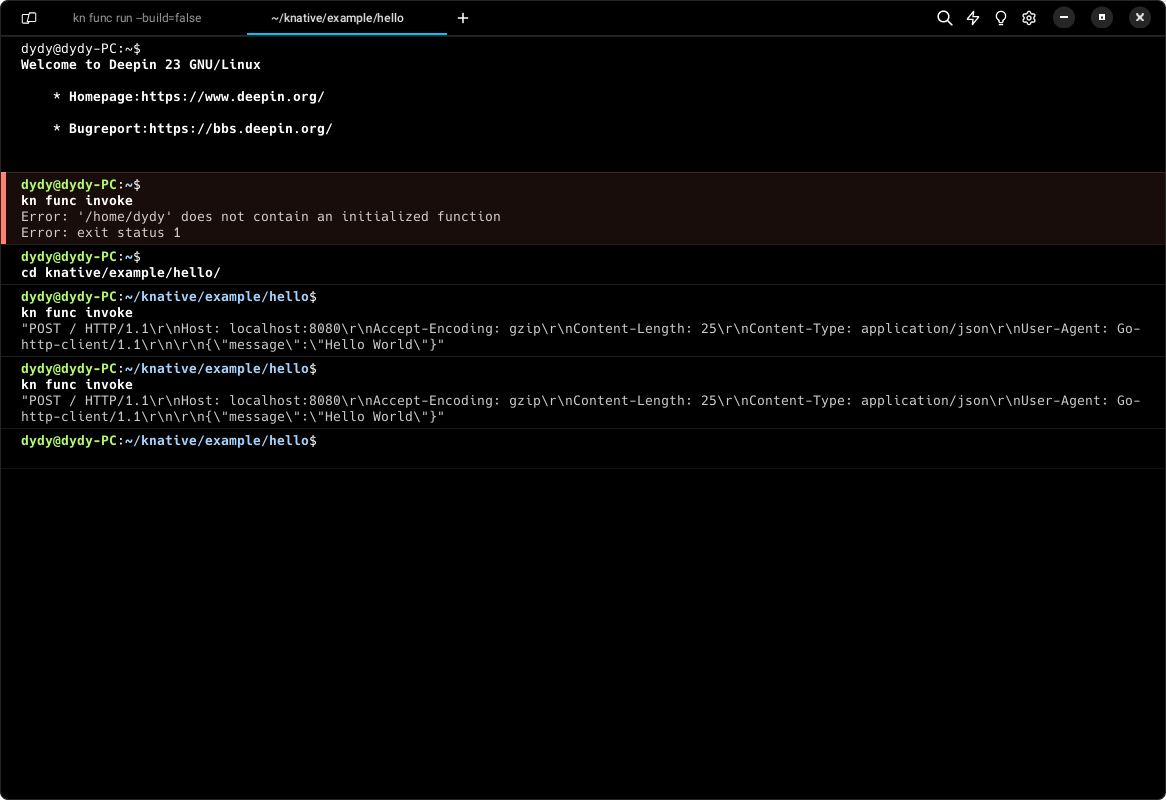
构建运行部署函数
- 运行
1 | |
- 触发
1 | |

- 部署
部署一个函数创建一个 OCI 容器镜像,并将该镜像 push 到镜像仓库中
1 | |
Serving
创建一个 Service
- 先决条件
从私有仓库部署
knative 学习笔记
http://example.com/2024/06/09/knative/